Tutorial of Tuffleye Flex by Bob Popovics on His New "Flex Fleye"
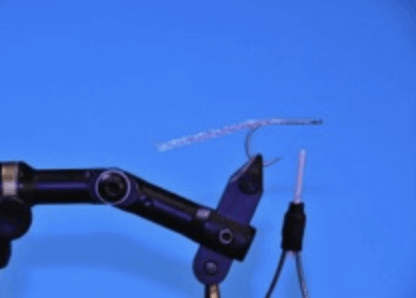
Wrap shank with body braid
Leave thread at 1/3 from hook eye for room.
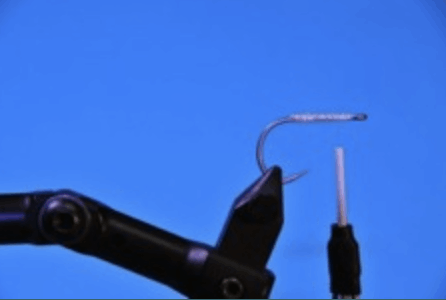
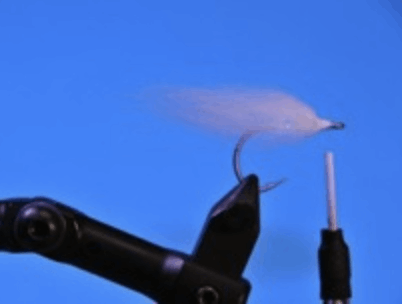
Tie in single tie of sheep fleece. Note room for next step
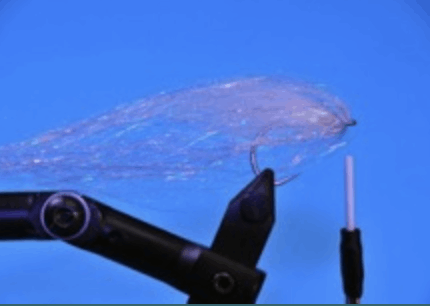
Tie in wing material, Farrar Blend, in reverse style being sure to spread fibers equally around head.
Lay back material and reposition the thread in front of material
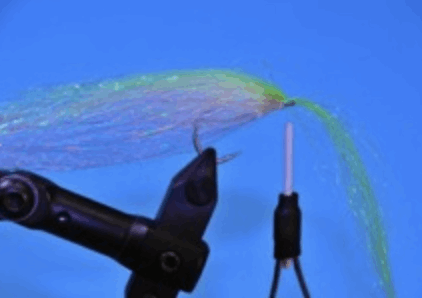
Lach down fibers equally around and ready for top color.
Tie in top color same as under-color as needed
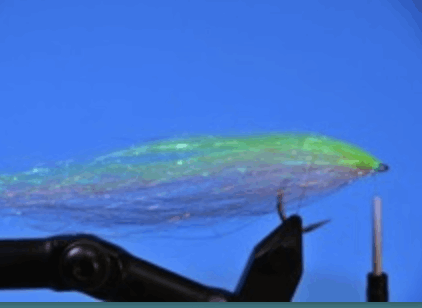
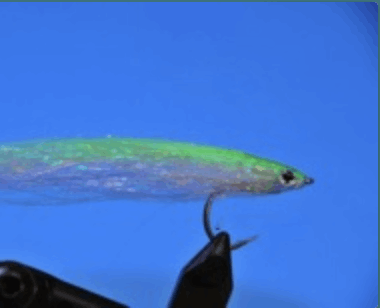
Tie down in place and tie off. Construction completed.
FIRST coat of FLEX is applied at this time. Tiny dollops around eye and thread area and smooth FLEX goo to the rear. Do not press down, only skim it on fibers with the tip of the FLEX syringe applicator. One side at a time might be helpful to some in the beginning attempts. FLEX should reach behind hook bend about 1/4" when finished --- Set eyes with small amount of FLEX covering, dab, smooth and set it with BLUE LIGHT.
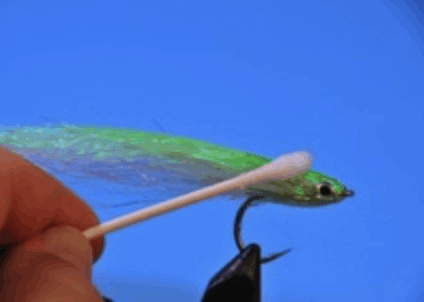
After eyes are secured in place, finish up with final coating of FLEX. Keep it smooth by letting it level itself. Rotate if possible for best distribution. And use BLUE LIGHT to set flexible acrylic. ---Wipe residue with alcohol and removing motion should be from left to right(in this photo). This prevents residue from being carried over rear fibers and sticking on them.
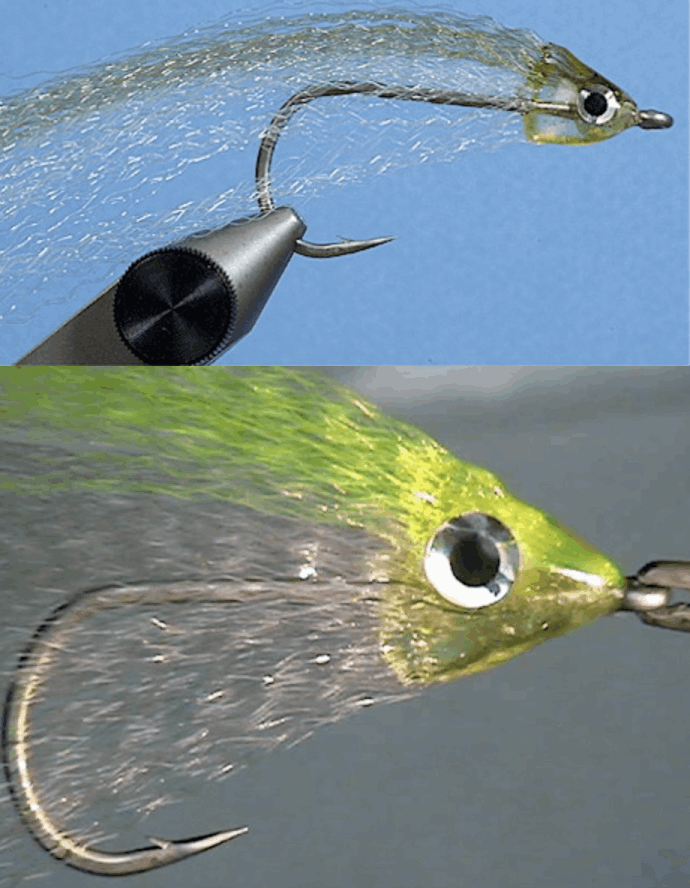
When dry from residue bath, apply new TUFFLEYE TOP COAT for shiny, protective surface.
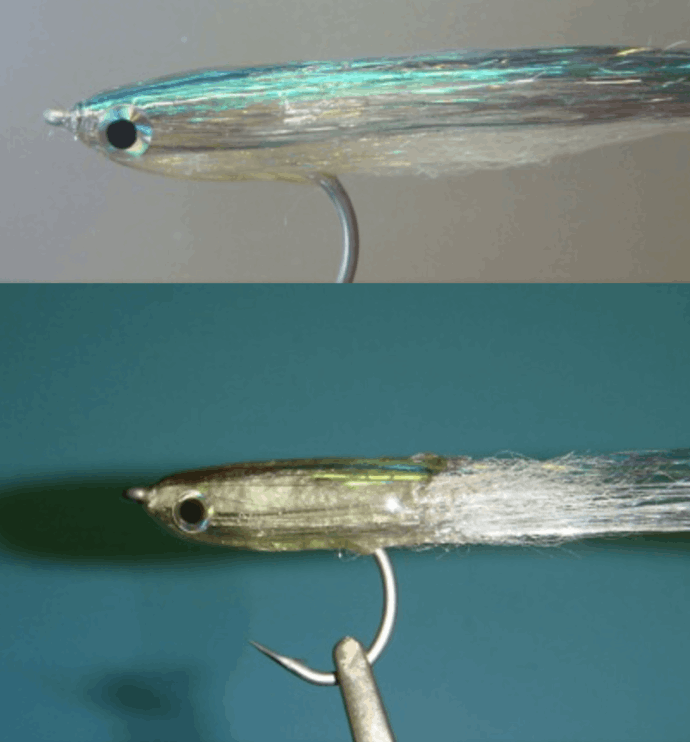
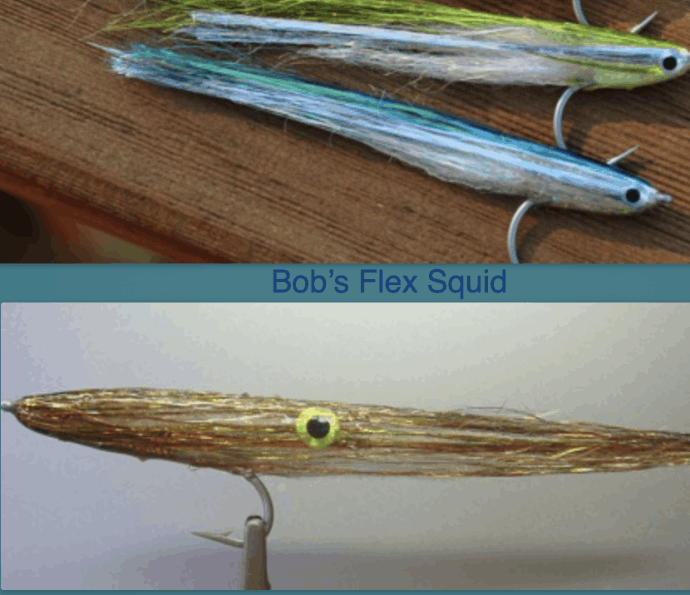
FINISHED “FLEX FLEYE”. “I love this blue light technology”.
When dry from residue bath, apply new TUFFLEYE TOP COAT for shiny, protective surface. FINISHED “FLEX FLEYE”. “I love this blue light technology”.
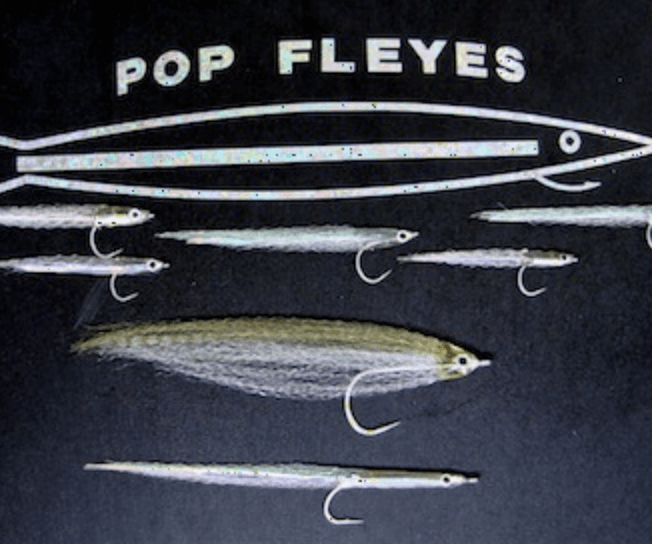
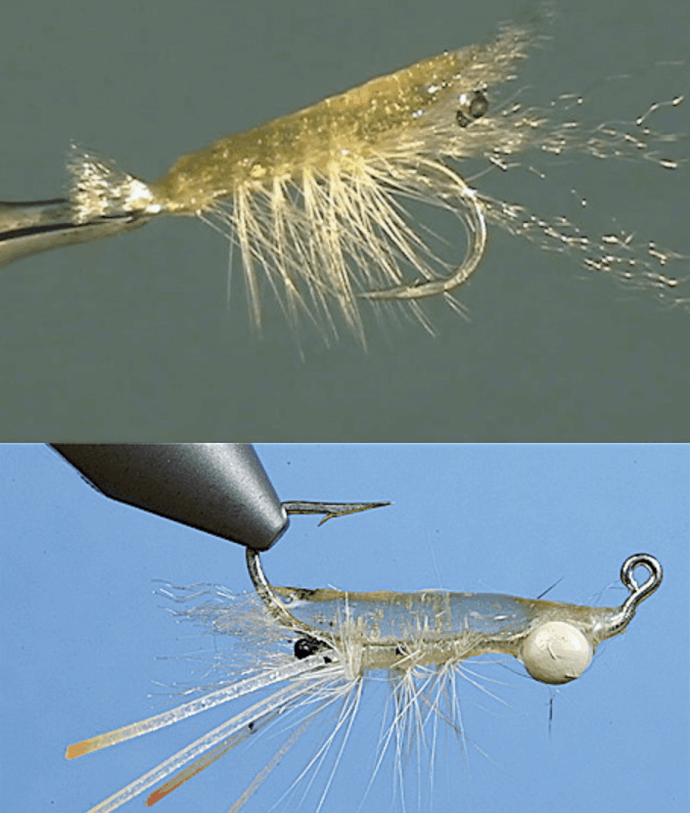
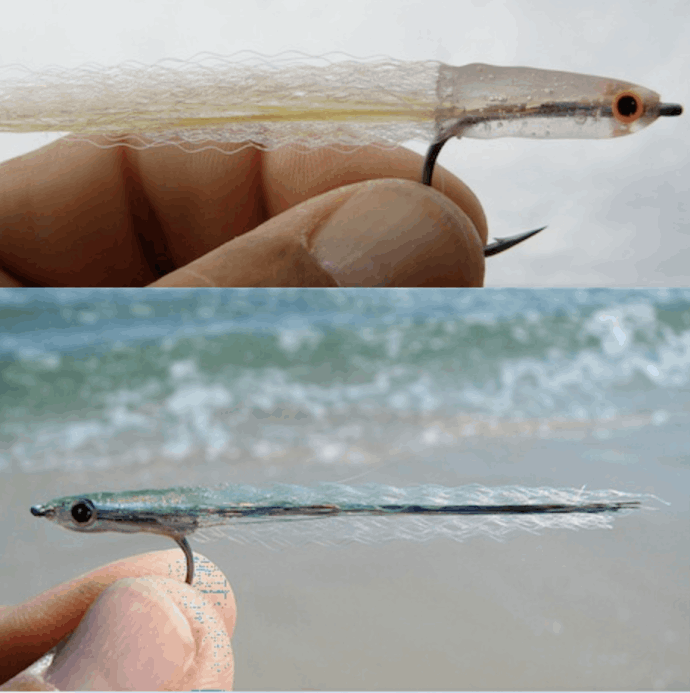
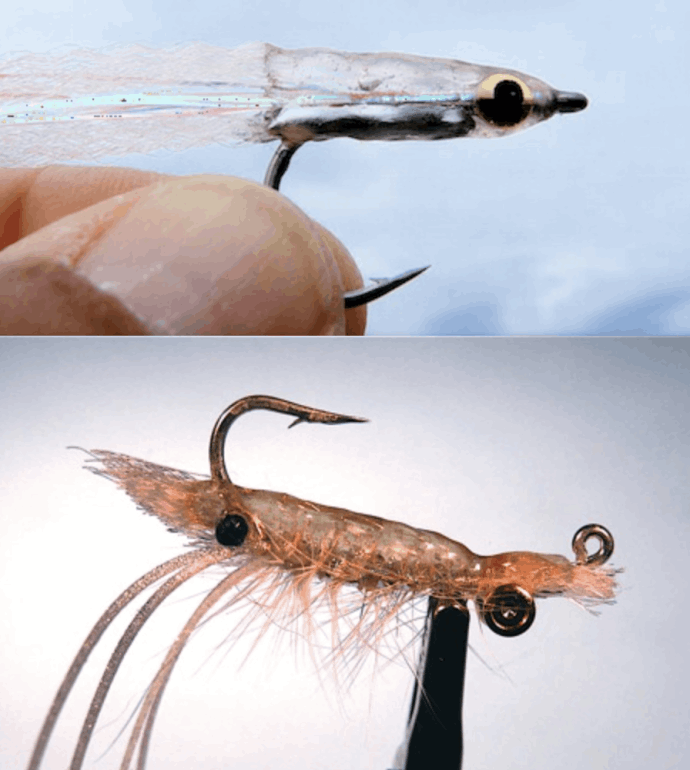
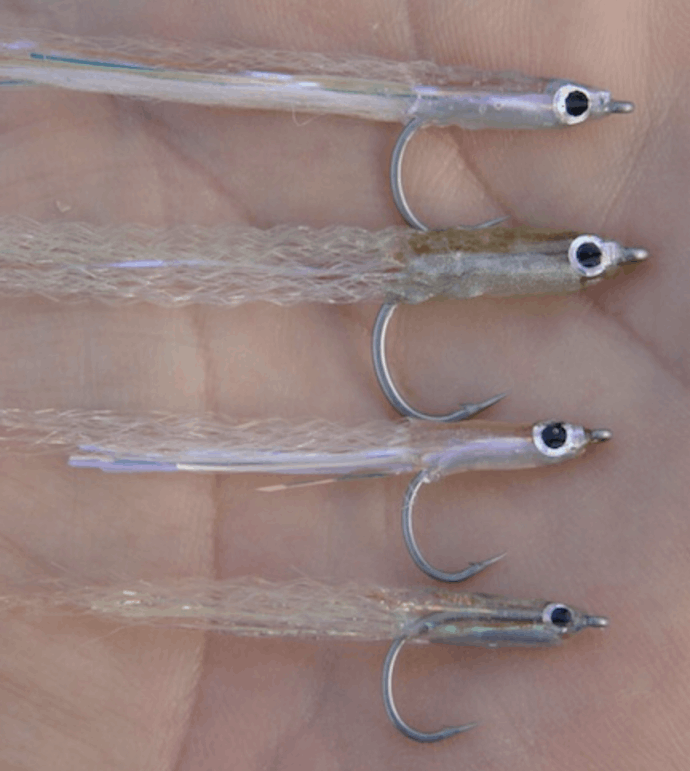
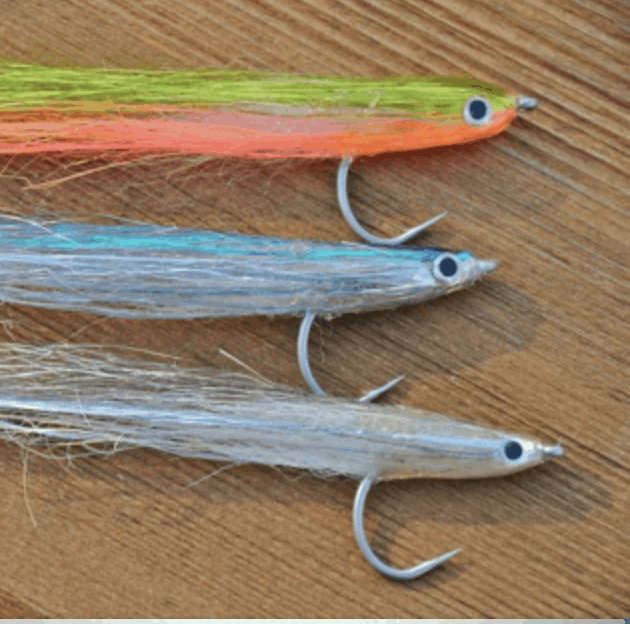
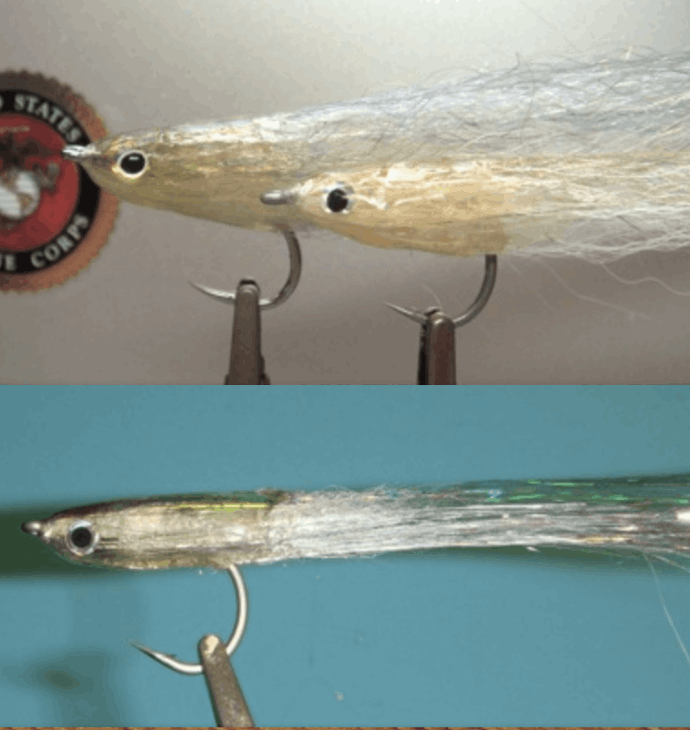
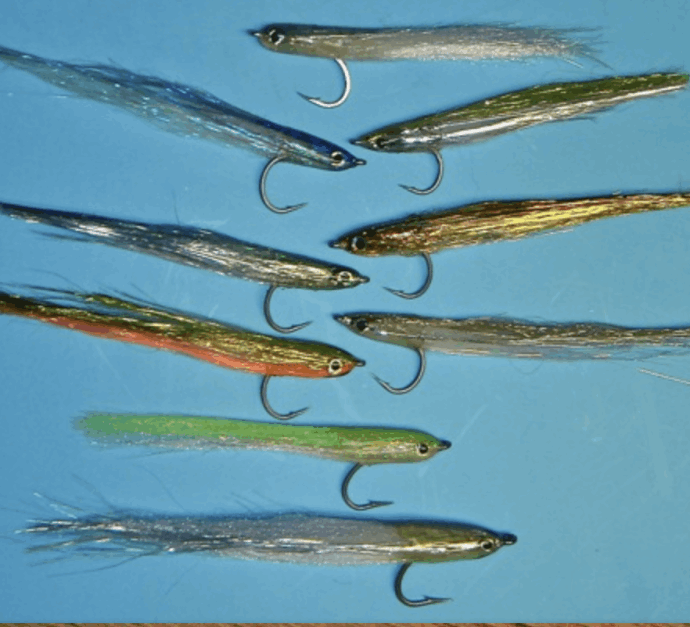
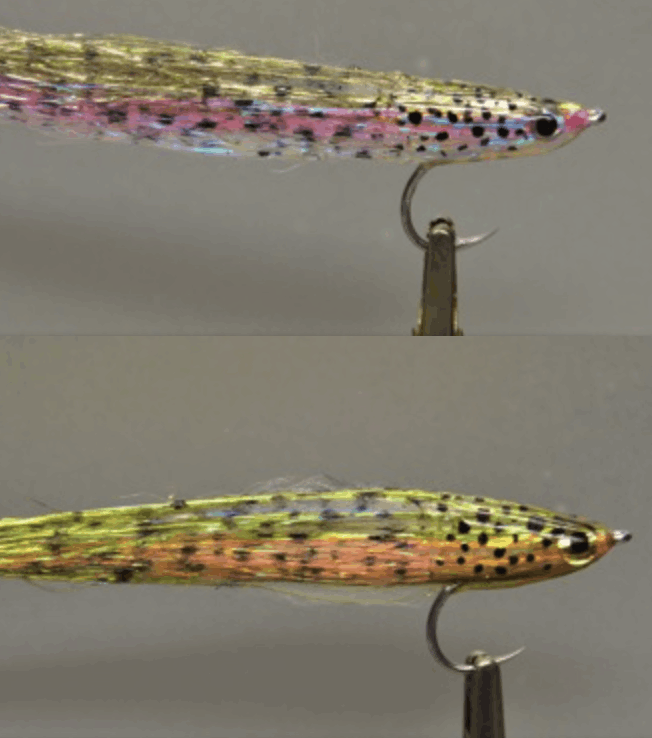
The Examples Below Are Made With Tuffleye Core & Finish