General Info
The Rebirth of Tuffleye
Tuffleye Technology
About Wet A Hook
Featured In
Hot Tips
Tuffleye Showcase
New Products
New Tuffleye Items Coming Soon
Fleye Foils Coming Soon
Tutorials
Tuffleye Tutorials
Step 1 Using Finish Over Core
Step 2 Using Core Over Finish
Step 3 Using Core Only
Step 4 Using Finish Only
LED Curing Light Info
Live Demonstration
Pro Staff
Jonny King
Al Quattrocchi
Steven C Wascher
Gabe Cross
Bob Popovics
Videos
New Videos Coming Soon
Dealers and Links
Dealers and Links
FAQs
FAQs
Menu
General Info
The Rebirth of Tuffleye
Tuffleye Technology
About Wet A Hook
Featured In
Hot Tips
Tuffleye Showcase
New Products
New Tuffleye Items Coming Soon
Fleye Foils Coming Soon
Tutorials
Tuffleye Tutorials
Step 1 Using Finish Over Core
Step 2 Using Core Over Finish
Step 3 Using Core Only
Step 4 Using Finish Only
LED Curing Light Info
Live Demonstration
Pro Staff
Jonny King
Al Quattrocchi
Steven C Wascher
Gabe Cross
Bob Popovics
Videos
New Videos Coming Soon
Dealers and Links
Dealers and Links
FAQs
FAQs
Search
What are you looking for?
Close
No products in the cart.
0 items
$0.00
Shipping
Total
$0.00
Shopping Cart
$0.00
Home
Tutorials
Tuffleye Tutorials
Step 1 Using Finish Over Core
Tutorial 1; Using Finish Core Over Core
Example; Scud (we tie these in olive, tan, burnt orange and, medium brown)
Hook - heavy wire scud (may be weighted with lead wire), sized to local naturals
Body - seal fur or similar dubbing
Rib - fine copper wire
Thread - 6/0 or 8/0
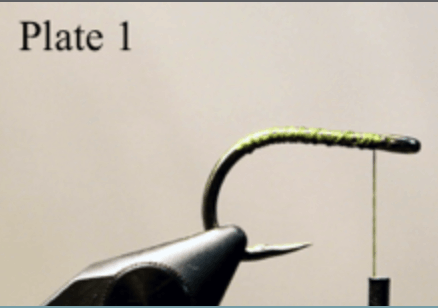
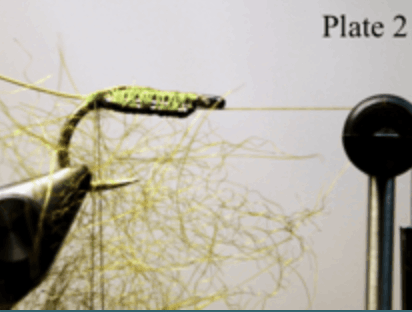
Step 1: Secure the lead wire to hook shank (if using). You may wish to laterally flatten the wire. We use lead wire only on the ventral surface of the shank but many tiers like to wrap the entire shank with lead wire.(Plate 1, 2)
Step 2: secure the copper wire rib at the hook bend or just beyond. (It is often helpful to use small amounts of TuffleyeTM to hold objects in place as you tie.) (Plate 2)
Step 3: make a dubbing loop (or hand-twist) and dub the seals fur (or substitute) to just short of the hook eye. (Plate 2, 3)
Step 4: wrap the copper rib and tie off at the eye – don’t cut the rib but break it off by bending it back and forth. (Plate 3)
Step 5: whip-finish the fly. (Plate 3)
Step 6: trim the dorsal surface smooth with fine scissors and brush or pick-out the fibers (legs) on the ventral surface. (Plate 3)
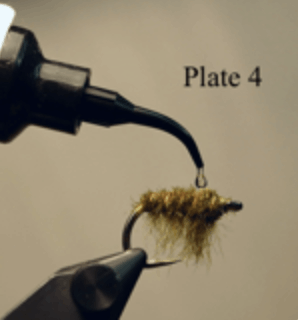
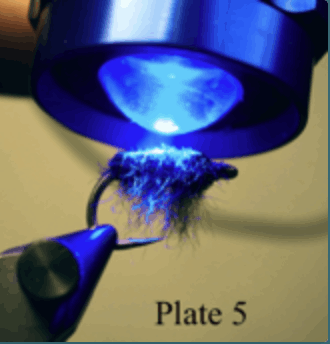
Step 7: apply a small drop of Core to the dorsal surface, spread it in an even(ish) coat and cure with the TuffleyeTM curing light. Do not remove the slippery bonding layer. Note: the Core won’t absorb into the fibers very fast so you can cure it when it penetrates enough for you. (Plate 4, 5).
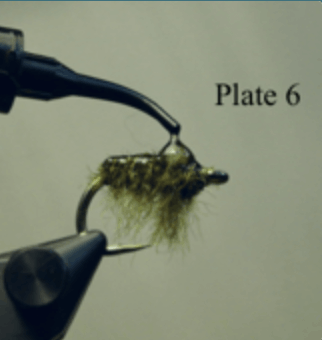
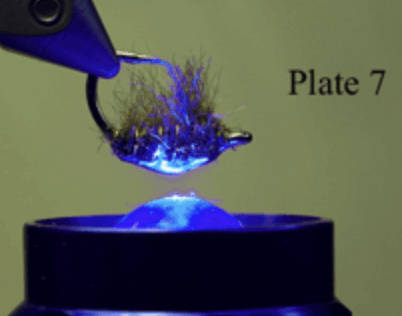
Step 8: apply a small amount of Finish and turn the fly upside down (dorsal surface down) in the vise. The Finish will form a nice smooth, rounded back on the fly as it droops – once you have the desired shape cure the resin with the TuffleyeTM curing light. (Plate 6, 7)
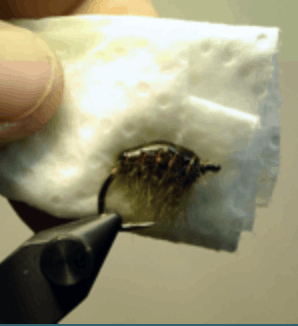
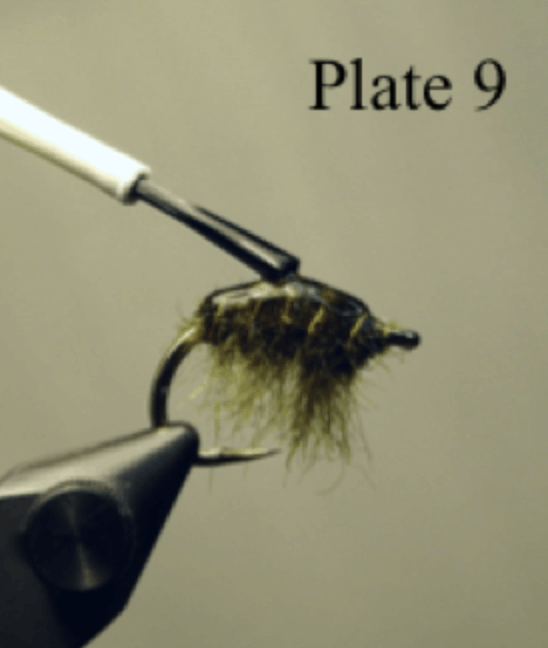
Step 9: remove the slippery bonding layer with paper towel and alcohol. You can now apply a coat of TuffleyeTM Top Coat (or similar) if desired. (Plate 8, 9)